Preparing Your 3D Resin Printing
3D PRINTING
3/5/20262 min read
Understanding Safety Measures
When preparing for 3D resin printing, safety should always be your top priority. Ensure you are equipped with appropriate personal protective equipment (PPE) such as gloves, goggles, and a mask to shield yourself from potentially harmful resin fumes. Also, work in a well-ventilated area to minimize inhalation of any harmful particles, and always keep the resin away from unprotected skin.
Choosing the Right Type of Resin
Selecting the proper resin for your 3D printing project is crucial. There are various types of resins available, each with different properties and uses. For instance, standard resin is ideal for detailed prototypes, while tough resin is more suitable for functional parts. Understanding resin characteristics will aid you in achieving the best results tailored to your specific project.
Utilizing Slicer Software Effectively
Utilizing slicer software effectively is essential to ensure your model is properly oriented. Proper orientation can minimize suction forces, which may hinder the printing process. Always generate supports where necessary to maintain the structural integrity of your prints. Ensure that the mesh is properly aligned and that you’ve set adequate parameters in your slicer to provide a smooth printing experience.
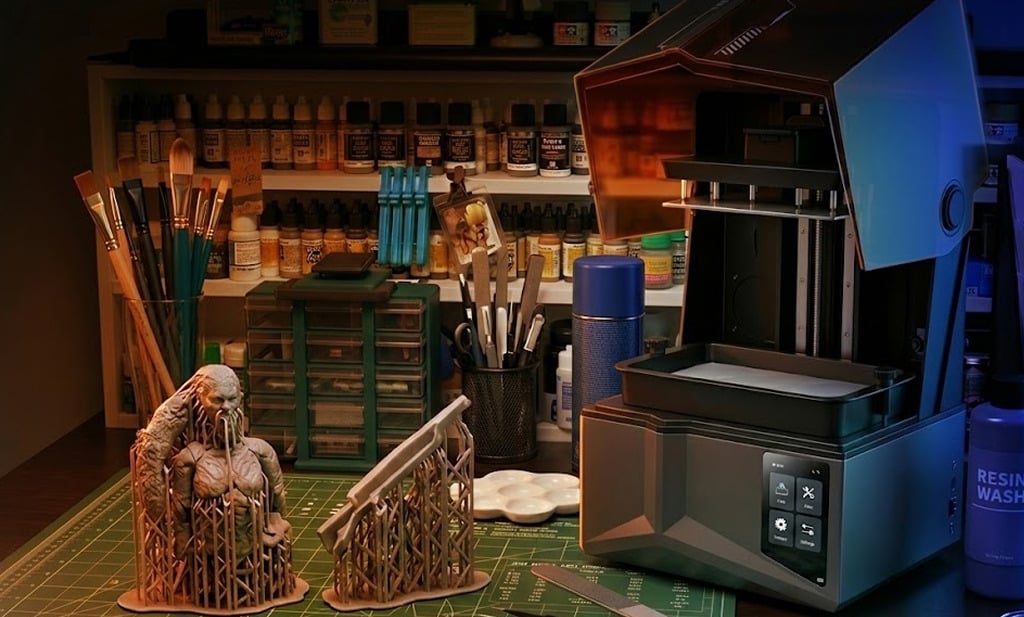
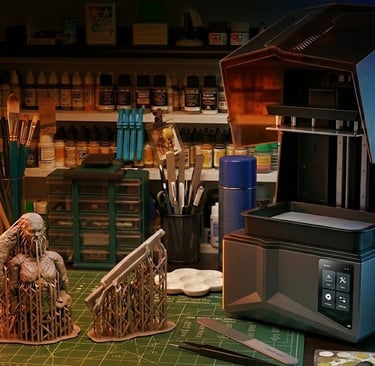
Tools Necessary for Successful 3D Printing
Apart from your resin printer, there are several important tools you will need. These include a resin vat, a curing station, and a washing station. Having suitable tools like a scraper or spatula can also assist in removing prints from the build plate without damaging them. Investing in good-quality tools enhances the printing process considerably.
Cleaning Your Print: Best Practices
After printing, washing your resin print is crucial for achieving a clean finish. Use isopropyl alcohol (IPA) for the washing process, and soak the print for about 5-10 minutes. However, avoid over-soaking to prevent degradation of the resin. A gentle agitation in the wash can help remove uncured resin, ensuring that your model is clean before curing.
Mastering UV Light Curing
Once the print has been washed, the next step is UV light curing. This final step is vital for solidifying the resin and ensuring durability. Place your print under UV light for at least 2-10 minutes, depending on the resin type. Ensure to follow the specific curing guidelines to maximize the effectiveness of the process. Proper curing will enhance the strength and appearance of your 3D printed model.
Conclusion and Additional Tips
By following these essential tips for preparing your 3D resin printing, you'll be on your way to better results and a safer printing experience. Remember that preparation and understanding the materials and tools needed will significantly influence the quality of your prints. Stay informed, and continue to explore the exciting world of resin printing!